Call us at 725-239-9966!
M-F: 8 AM-7 PM PST
Call us at 725-239-9966!
M-F: 8 AM-7 PM PST

Winterizing your greenhouse is an essential process to ensure your plants survive the cold winter months. A well-prepared greenhouse retains heat, protects plants from frost damage, and prevents costly repairs from winter weather. This comprehensive guide will walk you through everything you need to know to properly winterize your greenhouse.
Winterizing protects plants, saves money, and avoids damage. Insulating, sealing, heating - it's worth it! Unprotected greenhouses and plants suffer costly harm.
Start preparations 4-6 weeks before your first frost date. Don't delay - leave time to complete all steps properly. Rushing brings problems.
Clear, clean, assess structure, insulate - do it all. Skip any step and you risk pests, leaks, and chilly plants. A systematic approach works best.
Monitor conditions daily. Consistent temperature tracking lets you adjust heat, humidity, and ventilation. Prevent surprises!
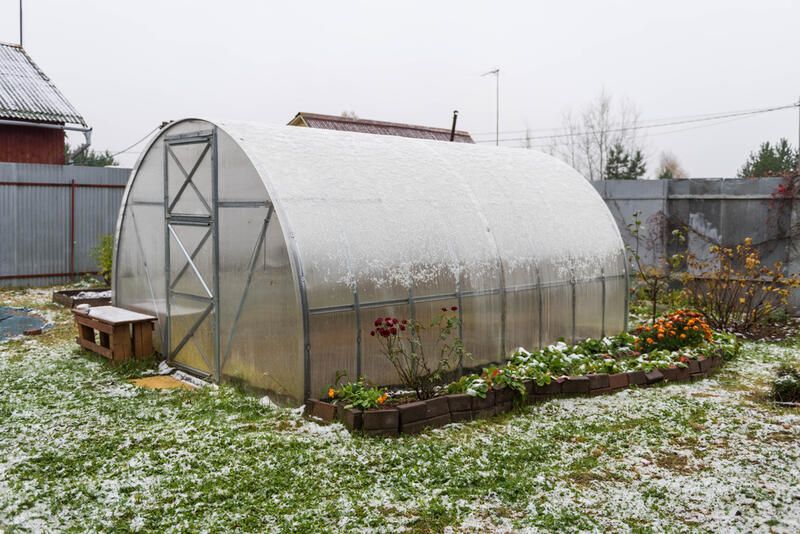
Winter-proofing your greenhouse is not just recommended - it's crucial for protecting your plants. Here are some key reasons why it is so important:
Prevents plant damage from cold: Many greenhouse plants are damaged or killed by frosty conditions. Winterizing regulates temperatures to prevent cold injury.
Saves on heating costs: A winterized greenhouse retains heat far better, reducing the amount of energy needed for supplemental heating.
Avoids weather damage: Exposure to cold, wind, snow, and ice can damage glazing, vents, doors, and the greenhouse structure. Winterizing fortifies it against the bad weather.
Allows overwintering plants to survive: Some plants like citrus trees, succulents, and tropicals need winter protection. A winterized greenhouse keeps them alive through the cold months.
Extends the growing season: By maintaining warmer conditions in your greenhouse, you can grow plants earlier and later into the fall and spring.
Prevents pest infestations: Sanitizing the greenhouse removes places where pests and diseases can overwinter. This gives plants a healthy start in spring.
In short, taking the time to properly winterize your greenhouse will pay dividends through healthier plants, lower expenses, and prevention of costly weather damage.
Timing is important when it comes to winterizing your greenhouse. In general, plan to winterize your greenhouse 4 to 6 weeks before your first expected fall frost.
For cold climates, this means starting the process in late September or October. In more temperate regions, mid-November maybe soon enough.
Check your local frost dates and aim to have your greenhouse fully winterized by that point. Attempting to winterize later can risk exposing plants and structures to frost and cold before you’re ready.
Some key steps like removing tender plants, cleaning up debris, harvesting final crops, and checking structural integrity can be started earlier, as much as 8 weeks pre-frost. Insulation, heating preparations, sealing vents, and other cold protection steps should be done closer to frost time.
Plan ahead and give yourself enough time to follow the winterizing steps properly. Rushing the process can cause mistakes that leave your greenhouse vulnerable.
Winterizing your greenhouse thoroughly involves a systematic approach and careful attention to detail. Follow these key steps:
The first task is clearing out any dead plant material, debris, and unnecessary items. This includes:
Removing dead or dying annuals: Get rid of any spent annual flowers or vegetables. Their dead foliage can harbor pests and disease.
Relocating fragile perennials: Tender perennials like fuchsias that can’t withstand cold temps should be moved into a heated greenhouse or indoor space for overwintering care.
Taking out extra pots, trays, and tools: Eliminate clutter to clear workspace for winterizing tasks. Store hoses, plant supports, and other items not needed until spring.
Harvesting final produce: Pick any remaining fruits, herbs, or vegetables you want to use over the winter. Compost healthy plant material that's no longer producing.
Cleaning grows benches: Remove all traces of soil, debris, and plant matter from benches, shelves, floors, and work areas.
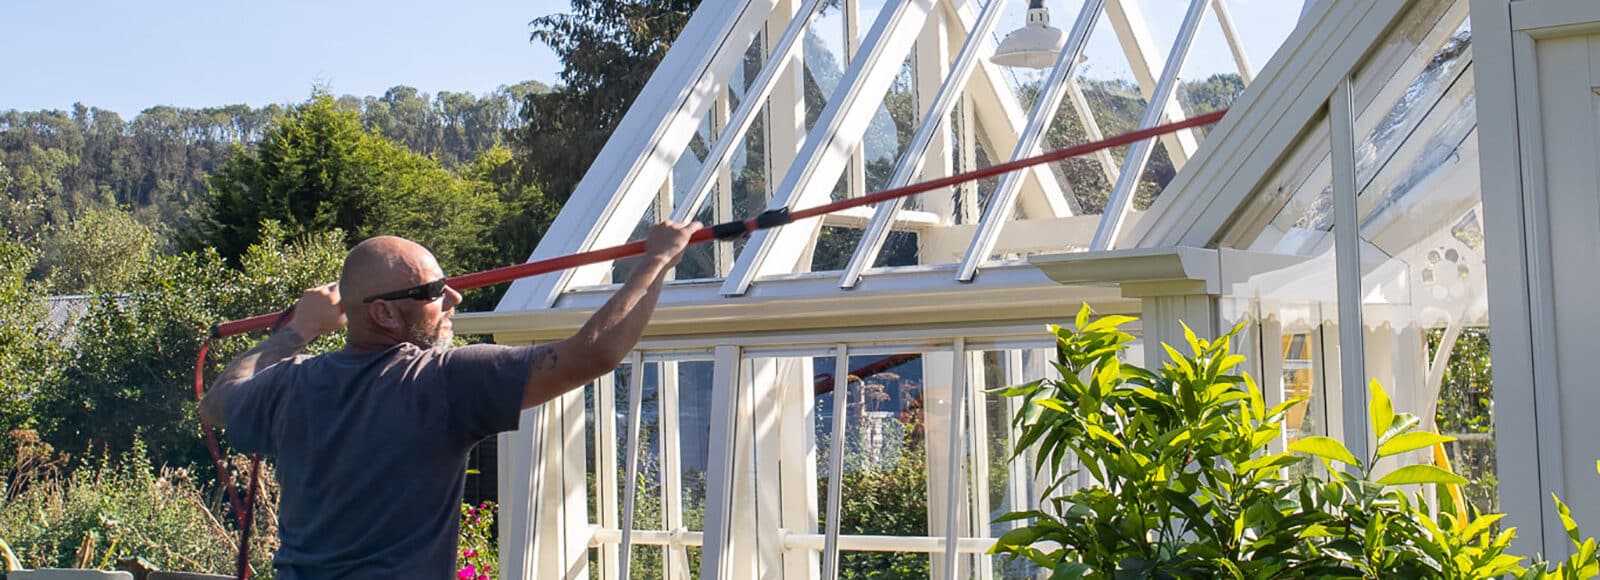
With the greenhouse emptied, it’s time to deeply clean it:
Sweep floors and benches: Remove dirt, leaves, and debris that have accumulated over the growing season. Disinfect benches and shelves.
Clean all surfaces: Scrub down walls, glazing, doors, vents, and framing using a mild greenhouse cleaner or bleach solution. Rinse well.
Remove algae growth: Use an algaecide if needed for any algae or moss growth on glazing or other surfaces. Rinse thoroughly.
Clear drain grates: Make sure all floor drains and channels are free of debris so water can drain freely.
Remove weed growth: Pull any weeds growing in the stone or gravel footing around the perimeter.
Disinfect tools: Clean and sanitize any tools that will remain in the greenhouse over winter.
Thorough sanitation eliminates places where pests and diseases survive the winter. Starting fresh helps prevent infestations when plants return in spring.

Examining your greenhouse structure closely is a critical winterizing task:
Inspect glazing: Check for cracking, clouding, or other degradation of glass panes or polycarbonate panels. Replace any that are damaged.
Check seals & framing: Look for gaps, cracks, or rot in framing joints. Re-caulk seals if needed. Repair any issues.
Test doors, vents & louvers: Make sure all openings operate smoothly and close tightly. Adjust or lubricate hardware as needed.
Examine the foundation: Look for any sinking, cracks, or gaps in the footing or ground contact. Repair issues to prevent frost heaving.
Assess overall structure: Check for loose screws, corrosion, weathering, or any instability in the frame and supports. Reinforce as needed.
Making repairs prevents further deterioration and prepares your greenhouse for the weight of winter snow and wind. For brand-new greenhouses, consult our greenhouse buying guide for any structural reinforcement recommendations specific to your model for winter weather readiness.
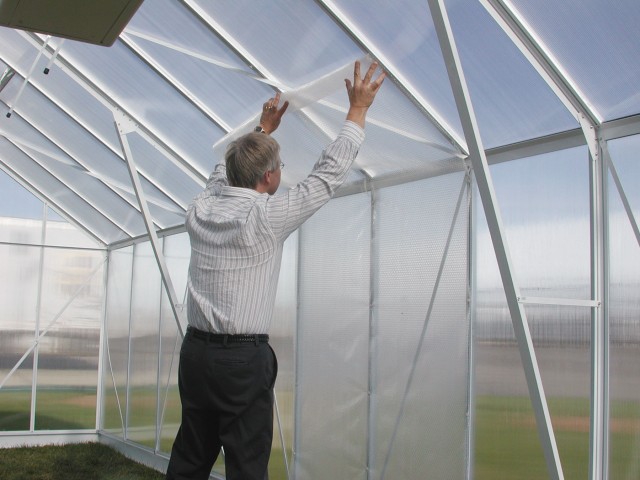
Adding insulation helps regulate temperatures and retain warmth in your greenhouse:
Use bubble polythene: Bubble polythene draped over the interior framework boosts thermal control while still allowing light transmission.
Line foundation: Foam board or rigid thermal panels around the base help maintain warmer soil and root zone temperatures.
Insulate walls: Polystyrene sheets, insulated sheeting, or other materials act as thermal barriers on walls. Avoid restricting airflow.
Add Row Cover: Breathable fabric row covers or thermal blankets add flexible temperature regulation over plants and benches.
Mulch floor: A deep layer of straw or leaves on the floor prevents ground frost.
Seal glazing: Use weather-stripping, caulking, or thermal seals around glazing to minimize air leaks.
Maintain ventilation: Keep some vents partially open for circulation. Close temporarily during extreme cold.
Choosing the right insulating strategies for your greenhouse helps maximize warmth while preventing issues like excess humidity. Here's a comparison of insulation types:
| Insulation Type | Pros | Cons |
|---|---|---|
| Bubble polythene | Effective heat retention, lightweight, inexpensive, allows light transmission | Can deteriorate over time |
| Rigid foam boards | Excellent insulation value, durable | Can be more expensive, blocks light |
| Cork sheets | Good insulation absorbs condensation | Natural material can degrade |
| Fiberglass batts | Readily available, low cost | Less effective insulation value |
| Straw bales | Natural material, recyclable | Can harbor pests, be messy |
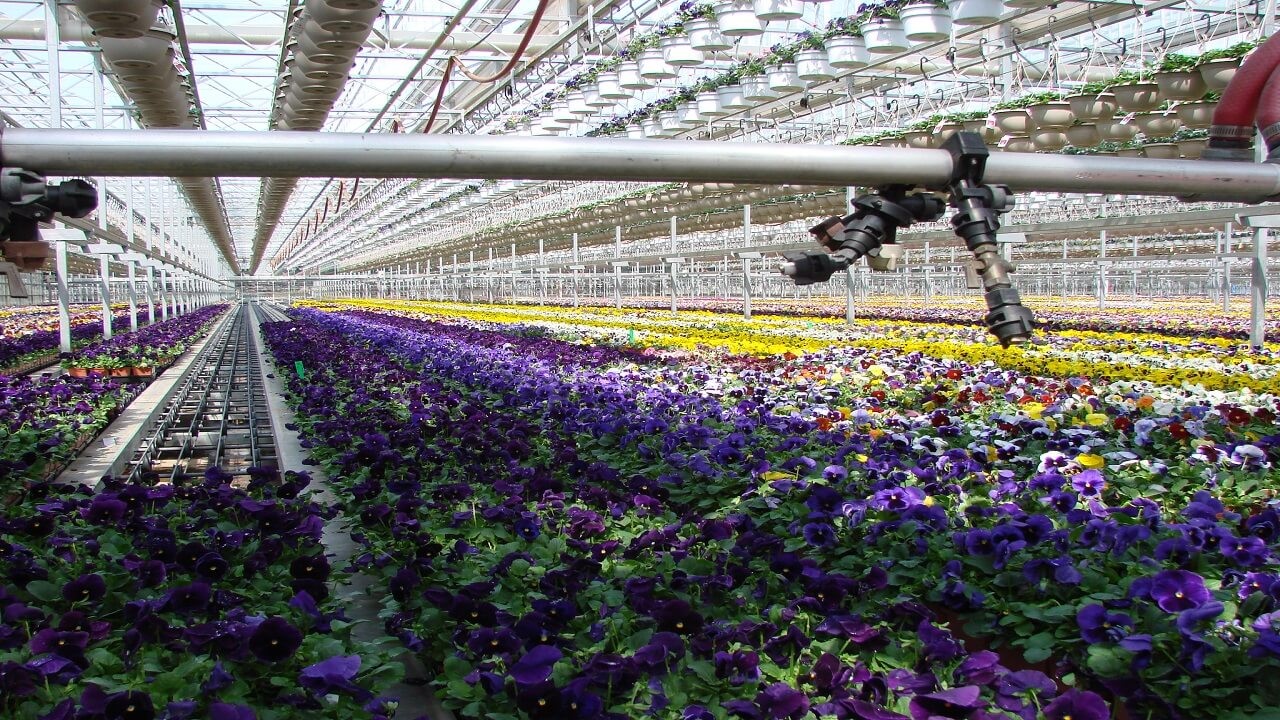
Freezing temperatures can damage plumbing and irrigation pipes. Prevent this by:
Shut off water: Turn off the main water supply and drain lines using drain valves. Open taps to remove remaining water.
Insulate outdoor spigots & hydrants: Wrap foam covers around exterior fixtures. For in-ground hydrants, pack insulation around the head.
Disconnect hoses: Remove all hoses and store them to prevent cracking from freezing temperatures.
Drain & store irrigation system: Follow the manufacturer’s instructions to drain and protect irrigation pipes, pumps, filters, and other components.
Wrap pipes: Insulate any pipes that must remain in the greenhouse with heat tape or foam covers.
Taking steps to protect your greenhouse plumbing will prevent costly repairs from burst pipes and other freeze damage.
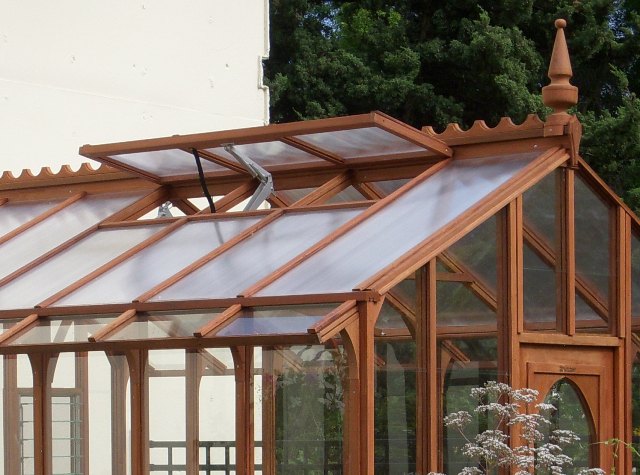
Stagnant air promotes mold, mildew, and other problems. Maintaining good air movement is key:
Run circulation fans: Use wall- or ceiling-mounted circulation fans designed for greenhouses at low speed for gentle air movement.
Space plants & benches: Avoid overcrowding plants on benches. Allow adequate space for airflow around each plant.
Open vents: Keep some vents partially open if temperatures allow. Close temporarily if extremely cold.
Clear intake vents: Make sure intake openings are free of debris so fresh air can enter.
Add standalone fans: Use portable fans to boost circulation in stagnant areas if needed. Directionally aim for gentle leaf movement.
Monitor for humidity: Use a hygrometer and increase ventilation if condensation or high humidity becomes an issue.
Proper airflow will help reduce pests, regulate humidity, and provide your overwintering plants with fresh oxygen.
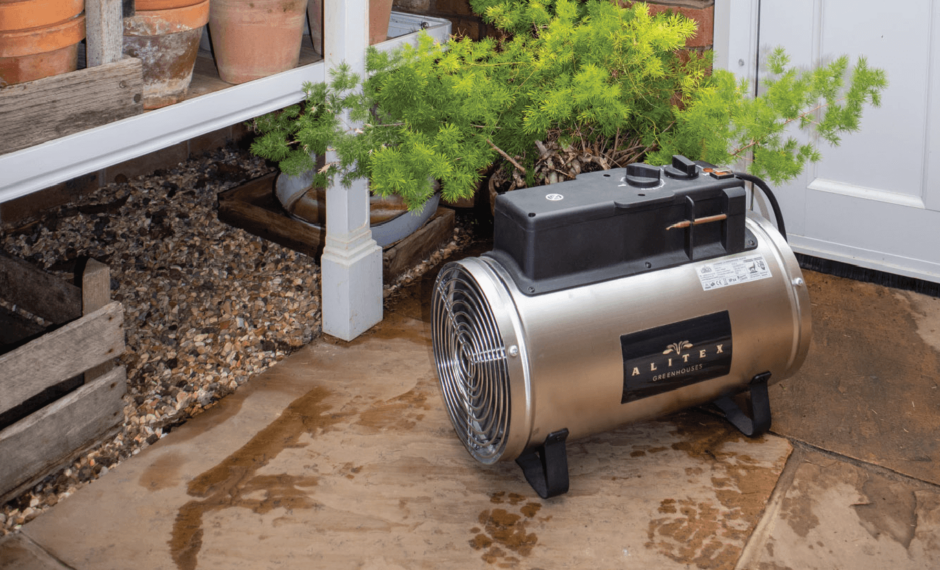
Depending on your climate and overwintering needs, supplemental heating may be required:
Inspect existing heaters: Check that greenhouse unit heaters or other heating systems are in working order with no damage or defects.
Service fuel-based heaters: For natural gas, propane, or other fueled heaters, ensure they're serviced and safe. Inspect exhaust venting.
Check heat capacity: Assess the heater BTU rating to ensure it's adequate for your greenhouse size if you plan to maintain particular temperature thresholds.
Seal any draft sources: Prevent heated air loss by sealing gaps, cracks, or vents near your heat source.
Install safely: Follow all manufacturer instructions for safe installation and clearance from combustibles.
Provide ventilation: Include sufficient venting to avoid the buildup of hazardous gasses. Don't operate fuel-based heaters in fully closed environments.
Have backup fuel: Make sure to have enough propane, natural gas, heating oil, or other fuel to maintain greenhouse warmth all winter.
Proper heating system preparation provides reliable warmth and protects your plants from extreme cold.
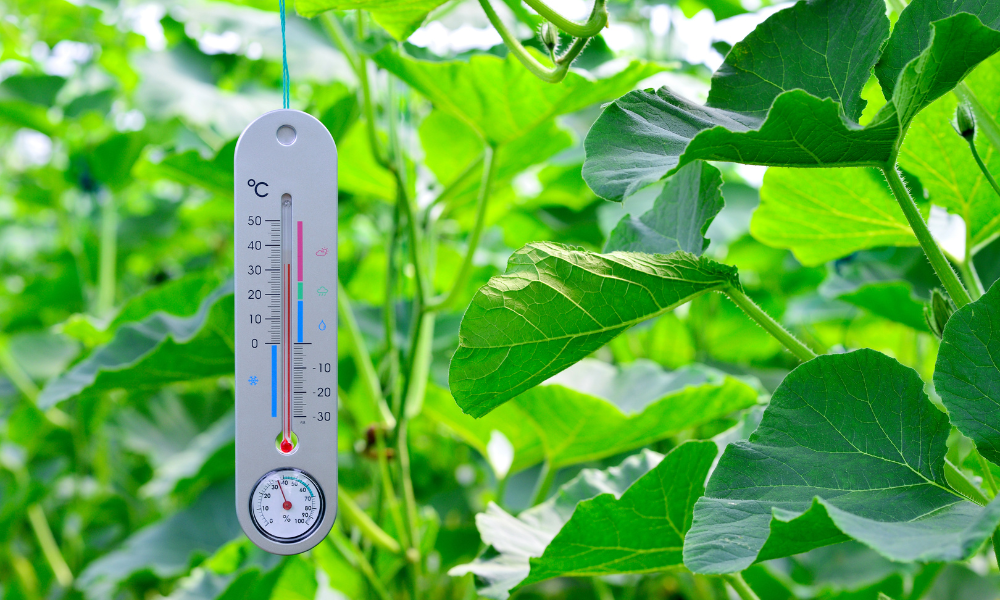
Careful temperature monitoring helps ensure your plants stay in their optimal cold tolerance range:
Install thermometers: Place max/min thermometers in several areas, especially colder corners, and near vents or heaters.
Track conditions: Check readings daily and record greenhouse temperature fluctuations.
Use a thermostat: For heated greenhouses, adding a thermostat allows adjusting the heating system to maintain ideal temperatures automatically.
Watch for cold spots: Identify and monitor any areas that tend to get colder than others due to a lack of air circulation or insulation.
Keep stored plants frost-free: If overwintering potted plants in an unheated adjacent structure, monitor temps to ensure they don’t drop below tolerances.
Adjust as needed: Increase heating or circulation if readings drop too low. Providing background warmth against frost is really important. Provide frost protection like horticultural fleece if extremely cold.
Consistent temperature monitoring lets you make adjustments to ensure an optimal winter growing environment.
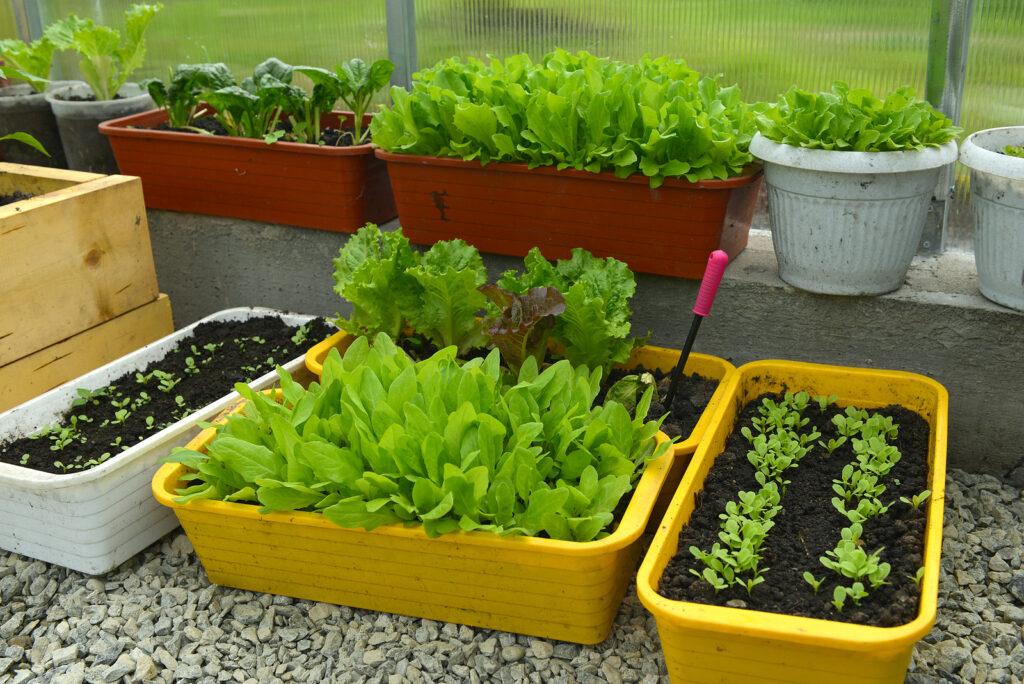
Once your greenhouse is fully prepped, it’s time to bring in your overwintering plants:
Select hardy crops: Choose vegetables and herbs adapted to cooler weather such as kale, chard, carrots, lettuce, parsley, and spinach.
Transition tropicals: Move frost-tender potted plants like hibiscus and citrus trees into the greenhouse, hardening them off to the cooler conditions first.
Protect sensitive perennials: Relocate vulnerable perennials like fuchsias inside, providing cold protection while allowing them to go dormant.
Monitor all plants: Check them frequently for signs of cold, watering needs, frost damage, disease, or pest infestations.
Provide warmth as required: Use heaters, thermal blankets, and warmth-retaining strategies to keep plants above their minimum temperatures.
Increase humidity: Use humidifiers or wet gravel trays for tropicals needing higher humidity. Provide ventilation to prevent excess moisture.
Selecting the right plants and maintaining ideal conditions will help them thrive despite winter’s challenges.
While heaters provide greater temperature control, some plants can successfully overwinter in an unheated greenhouse. Here are some key tips:
Choose only very hardy plants like kale, chard, or other hardy greens that tolerate temperatures down to 15-20°F (-9 to -6°C).
Provide ample insulation: Maximize bubble polythene, perimeter foam boards, thermal blanketing, and other insulation.
Maintain ventilation: Prevent excessive humidity buildup that encourages disease.
Heat with passive solar: Orient glazing to maximize sunlight exposure. Whitewash glazing to reflect more light/heat inward.
Use row covers: Drape horticultural fleece or fabric row covers over plants for portable insulation during cold periods.
Monitor conditions diligently: Check plants frequently and protect them if conditions drop too low. Have a backup plan to move plants into a heated area if needed.
While challenging, choosing hardy species adapted to frigid conditions allows for growing cool-season crops in an unheated greenhouse with careful management.
| Plant Type | Minimum Temperature | Ideal Temperature Range |
|---|---|---|
| Cool-weather crops | 28°F (-2°C) | 45-55°F (7-13°C) |
| Hardy perennials | 32°F (0°C) | 50-60°F (10-16°C) |
| Tropical plants | 50°F (10°C) | 60-75°F (16-24°C) |
| Citrus trees | 50°F (10°C) | 60-70°F (16-21°C) |
| Succulents | 40°F (4°C) | 50-60°F (10-16°C) |
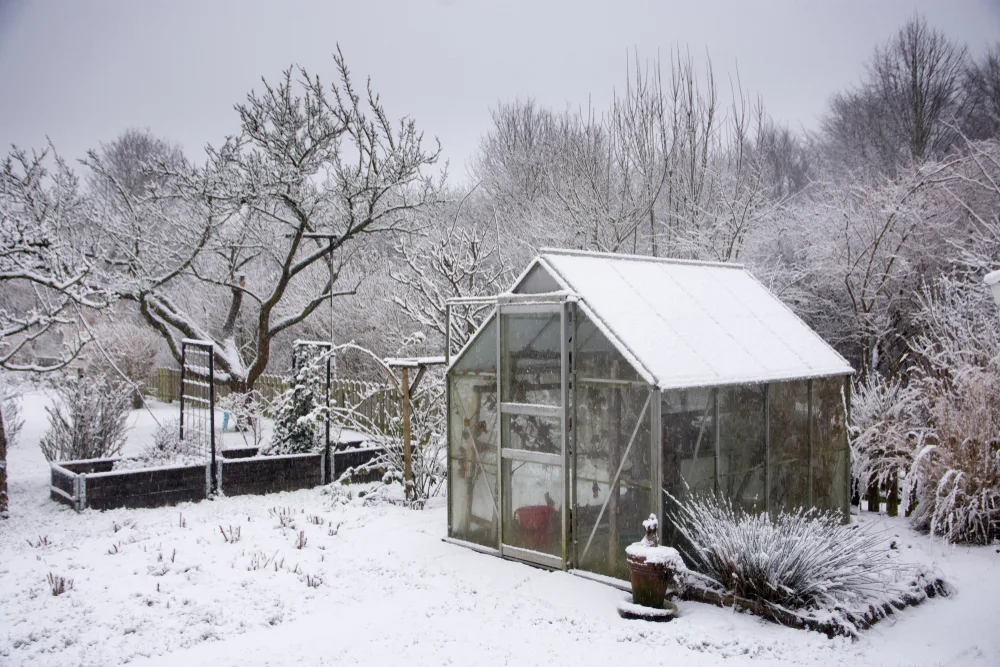
Winterizing your greenhouse is a crucial annual task that marks the end of one growing season and sets the stage for the next. While it may seem daunting, following the steps outlined in this guide will help ensure your garden greenhouse and plants are fully prepared for winter's challenges. Taking the time to properly insulate, seal drafts, sanitize, maintain structures, regulate temperatures, and care for overwintering plants will provide dividends all winter long. Come spring, you'll be rewarded with vigorous growth and bountiful harvests from the healthy head start your winterized greenhouse environment provides.
Key steps to winterize your greenhouse include clearing out tender plants, thoroughly cleaning, checking the structural integrity, insulating walls and foundation, protecting water systems, maintaining ventilation, preparing supplemental heating, and monitoring temperatures daily. Proper winterization protects plants and prevents damage.
Growers can prevent heat loss by adding bubble wrap insulation, sealing any cracks or gaps in the greenhouse frame, keeping doors closed, and using thermal curtains. Insulating the greenhouse retains warmth to protect plants.
It is important to remove debris, dead plant matter, and algae growth that can harbor pests and diseases over winter. Disinfecting all surfaces and tools prevents problems from emerging in spring. Start fresh each season.
Gas or electric greenhouse unit heaters are often used to maintain temperatures for tropicals. Hydronic heating systems that circulate hot water through pipes are very effective at providing consistent warmth plants need.
Use thermometers and hygrometers to monitor conditions daily. Maintain airflow with fans and vents to control humidity. Use greenhouse heaters, insulation, and thermal blankets to regulate temperatures within safe ranges.
For a greenhouse's first winter, inspect glazing seals, caulk any cracks, repair issues, improve insulation, prepare supplemental heat sources, install thermometers, and select hardy plants. Take time to winterize properly.

{"one"=>"Select 2 or 3 items to compare", "other"=>"{{ count }} of 3 items selected"}
Comments
Leave a comment