Call us at 725-239-9966!
M-F: 8 AM-7 PM PST
Call us at 725-239-9966!
M-F: 8 AM-7 PM PST

Cleaning your chicken coop kit regularly is crucial for keeping your flock healthy and productive. A dirty coop allows bacteria, mites, and parasites to thrive, which can spread disease through your chickens.
By following these 5 simple steps, you can thoroughly clean your coop and help provide your backyard chickens with a safe environment to live and lay eggs.
Remove all chickens and accessories before cleaning to access all surfaces.
Scrub every inch with soap and water, then disinfect with natural solutions.
Allow the coop to completely dry before adding clean bedding.
Deep clean the entire coop every 4-6 weeks for optimal health.

Before you start washing and disinfecting the coop, you must remove your entire flock to a safe location. Here are a few tips:
If your chickens are free-range, let them roam the yard while supervised. Keep them out of the coop area.
Construct a temporary outdoor pen or enclosure to hold them while you clean. Provide food, water, and shade.
Use a shed, or garage, or ask a friend if you can house them for a few hours during cleaning.
Removing chickens prevents them from escaping mid-cleaning and avoids ingesting any cleaning fluids. Plan to keep them out until the coop is completely dry.
The next step is to strip the coop down to the basic structure. Be sure to remove:
All soiled bedding and litter. Dump it into a compost pile or trash. Don't put old bedding back in the coop.
Feeders and waterers. Scrub and disinfect them later.
Roosting bars, planks, perches, or hardware. Set aside to clean.
Nesting boxes. Toss dirty bedding and scrub boxes.
Cobwebs, dust, feathers, and debris. Sweep it all out.
Any garbage, droppings, or rotten eggs.
Taking everything out lets you fully clean and disinfect without obstructions. Evaluate bedding and discard any that is excessively soiled.
With the coop emptied, shift your focus to removing all visible chicken waste:
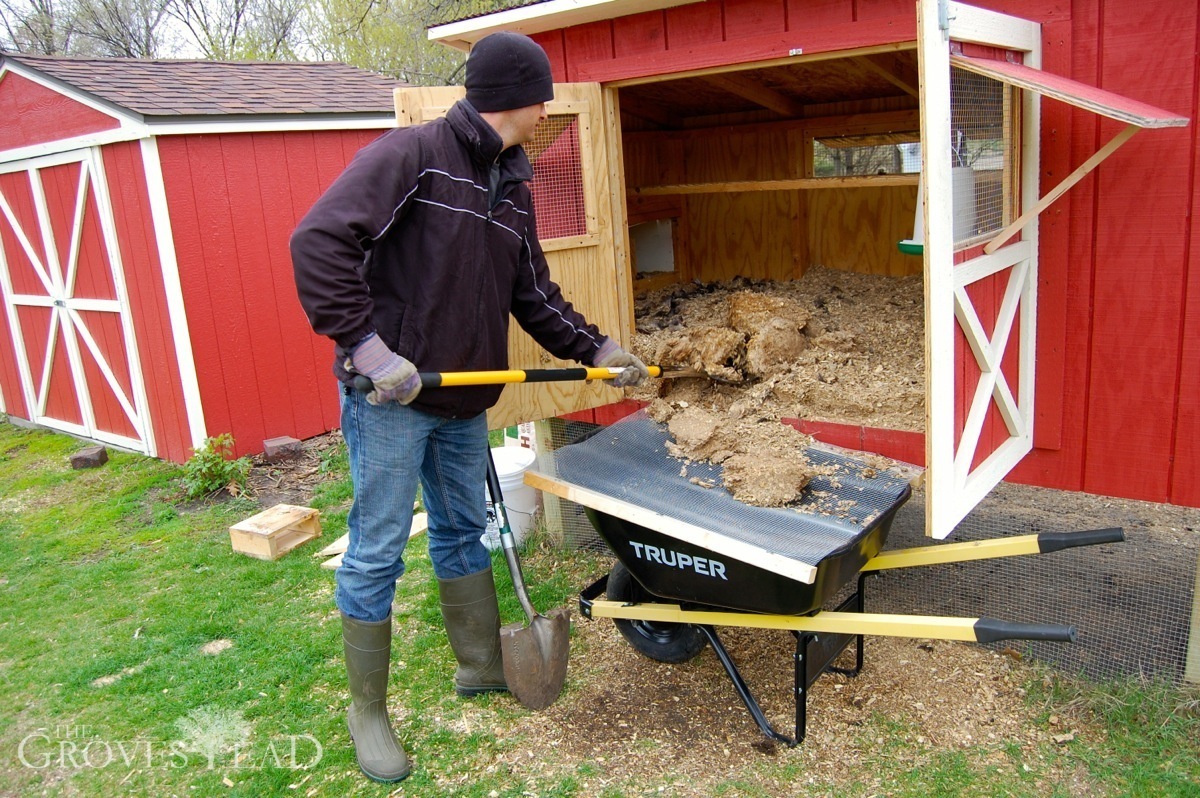
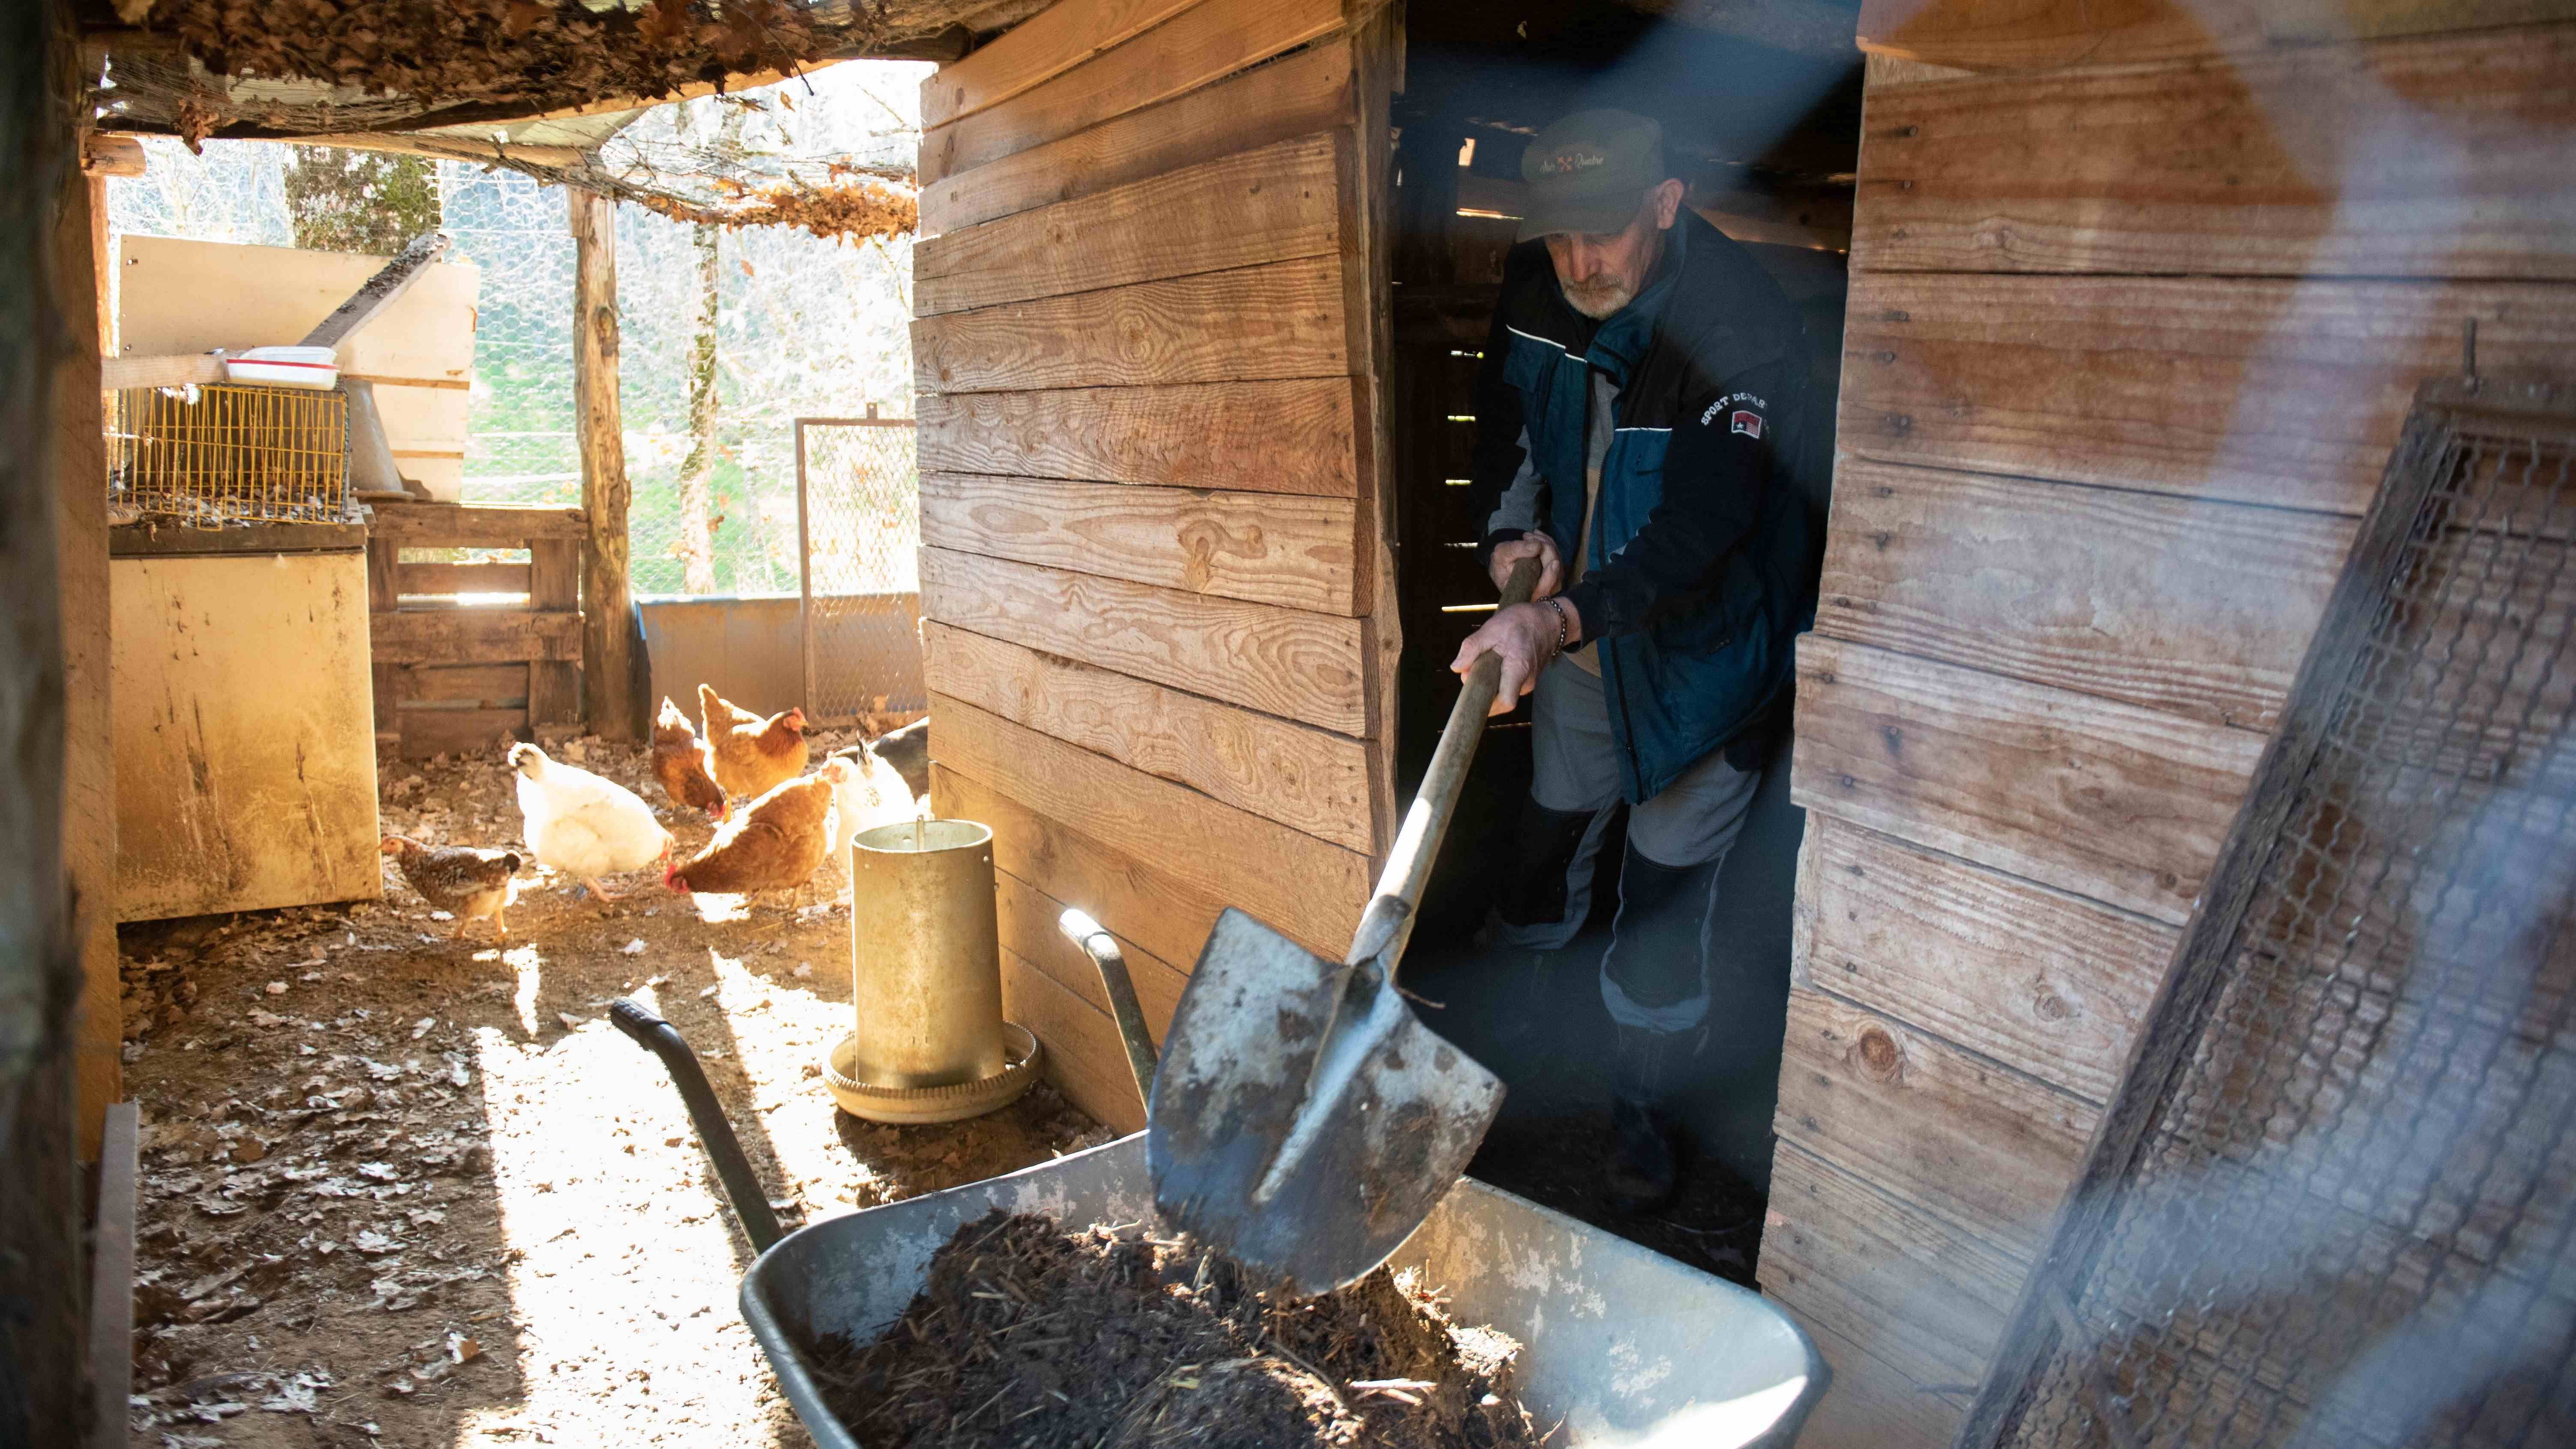
Use a flat metal shovel to scoop out all poop, soiled litter, and debris from the floor. Toss it.
Sweep out all feathers, dust, and cobwebs with a broom.
Use a stiff scrub brush to loosen stuck-on droppings on perches, walls, and corners.
Scrape off hardened manure on roosts and interior walls with a paint scraper.
Removing all solid waste and residues allows you to thoroughly wash down surfaces next.
Now comes the dirtiest but most important step - scrubbing every inch of the coop:
Use a pressure washer or garden hose with a spray nozzle to wet down all walls, ceilings, floors, and ramps.
Mix an all-natural cleaner like vinegar or biodegradable soap in water. Scrub surfaces with a stiff brush.
For tough stains, let vinegar or soap solution sit for 10 minutes before rinsing.
Wash and disinfect nesting boxes, perches, and hardware. Use hot, soapy water.
Hose down the exterior of the coop and ramps to remove caked-on droppings.
Spray all surfaces with an all-natural disinfectant after washing, concentrating on corners, crevices, and high-touch areas.
Try using hydrogen peroxide, citrus peels boiled in water, or diluted vinegar as natural disinfectants.
Let disinfectants sit for 10+ minutes before rinsing thoroughly with clean water. Avoid pooling liquids.
Scrub and sanitize every square inch of the coop interior and exterior. This kills bacteria that cause disease.
The last step is freshening up the coop before letting your flock back in:
Lay down 4-6 inches of new, clean bedding once the coop is dry. Use pine shavings, hemp, straw, or sand.
Refill feeders and waterers with fresh food and water.
Replace nesting box bedding. Try sand to encourage egg laying.
Install cleaned roosting bars and hardware.
Sprinkle food-grade DE powder in nests and coop floor to kill mites.
Add natural air fresheners like fresh herbs or citrus peels.
Once everything is fully dry, you can allow chickens back into their clean, sanitized home! They'll be eager to check out the spruced-up coop.

Having these basic supplies on hand will make cleaning day much easier:
Flat shovel and metal scoop for removing waste
Stiff scrub brushes and sponges for washing
All-natural good cleaning solutions like vinegar or biodegradable soap
Garden hose with spray nozzle attachment
Protective gear like rubber gloves, boots, face mask
Wheelbarrow for removing dirty bedding
For a smaller coop of 5 or less chickens, deep clean:
For larger coops of 10+ chickens, deep clean:
In addition to this:
Spot clean daily to remove poop and wet bedding.
Disinfect feeders and waterers 1-2x per week.
Clean out nesting boxes weekly.
Follow these tips to make cleaning faster, safer, and more effective:
Wear old clothes and shoes that can get dirty. Chicken poop stains!
Use a dust mask when sweeping out dried manure and debris to avoid inhaling dust.
Stand upwind when spraying out the coop to prevent cleaning fluids from blowing back onto you.
Let vinegar or peroxide disinfectants sit for 15-20 minutes before rinsing for maximum germ-killing.
Use a scrub brush with stiff natural bristles to scour stubborn poop stains.
Set up a portable canopy outside the coop to be able to hose it out in the shade.
Play upbeat music to make the cleaning go by faster!
Immediately remove any wet bedding to prevent dampness and ammonia buildup.
Having the best chicken coop will also allow for easier cleaning and maintenance. Factors like ventilation, nest box placement, and materials impact cleanability.

Keeping your jumbo chicken coop clean is one of the most important parts of chicken care. By thoroughly cleaning, disinfecting, and drying the coop every 4-6 weeks, you can help prevent the spread of harmful bacteria and illness among your flock.
Use this handy checklist to stay on track with your coop cleaning routine:
Remove chickens from coop
Discard soiled bedding
Wash all surfaces with soap and water
Disinfect nest boxes, perches, walls
Allow the coop to fully dry
Add fresh bedding
Refill food and water
Let chickens back in
Taking the time to deep clean the coop thoroughly pays off through having chickens that thrive for years to come.
Firstly remove all bedding and clean out chicken litter. Next, disinfect the chicken nesting boxes with a solution mixture of equal parts of vinegar and water to create a cleaning solution. Scrub the boxes with this solution and then let the coop dry before adding fresh chicken coop bedding. This helps to keep your chicken coop clean.
To clean the roost, use a hose and spray the enclosure to remove chicken feces. Then disinfect your chicken roost with vinegar and water solution or a coop cleaner made specifically for chicken coops. Let it air dry completely before letting your chickens back in.
No, it's not recommended. Using bleach to clean the chicken coop can be harsh and could potentially harm your chickens if it's not thoroughly rinsed.
The best time to clean out the chicken coop is when the weather is warm and dry as this will help the wet areas in the coop dry faster. However, you can also undertake a good spring clean regardless of the season.
Either compost the used litter if it doesn't contain manure or discard it. Never put old bedding back in a clean chicken coop, since it contains bacteria. Use only fresh bedding.

{"one"=>"Select 2 or 3 items to compare", "other"=>"{{ count }} of 3 items selected"}
Leave a comment