Winterize a greenhouse by starting 4 to 6 weeks before your first frost, then cleaning it out, sealing and insulating, protecting water lines, and setting up heat and monitoring. Work through it in that order and your structure holds warmth, your overwintering plants survive, and you avoid the burst pipes and cracked glazing that show up after the first hard freeze.
TL;DR: Begin winterizing 4 to 6 weeks before your first fall frost. Clear and deep-clean the greenhouse, inspect the structure, insulate walls and foundation, drain and protect water lines, keep air moving, prep heat, and monitor temperatures daily. Hardy crops hold near 28°F; tropicals need 50°F.
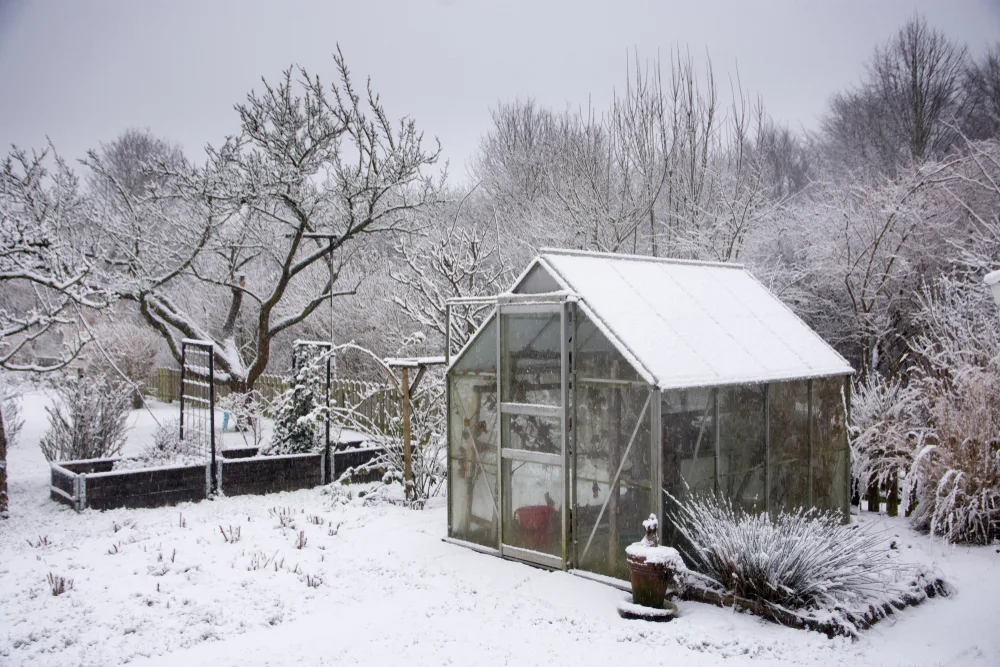
a hoop house with snow on top surrounded by plants
Why Winterize Your Greenhouse
Winterizing protects plants from cold injury, cuts heating costs by retaining warmth, and prevents weather damage to glazing and framing. A sealed, insulated greenhouse loses far less heat than a leaky one, so your heater runs less and your tender plants stay above their minimum temperature through the coldest nights.
The payoff is concrete. Skip insulation and a single drafty vent can pull inside temperatures down toward outside air, and an unheated greenhouse will reach freezing whenever it freezes outdoors. Sealing gaps and adding thermal barriers is what keeps that air gap working in your favor.
Winterizing also clears out pests. Removing dead foliage and disinfecting surfaces strips away the spots where insects and disease overwinter, so your plants get a clean start in spring instead of inheriting last season’s problems.
When to Start
Start winterizing 4 to 6 weeks before your first expected fall frost. That window gives you time to complete every step without rushing. North Carolina State Extension advises beginning winter prep, including withholding fertilizer, about six weeks before the average first frost date so plants harden off properly.
In cold climates that means late September or October. In milder regions, mid-November is often soon enough. Check your local frost date and work backward, aiming to have the greenhouse fully buttoned up before that date arrives.
Some tasks can start even earlier, as much as 8 weeks out: removing tender plants, clearing debris, harvesting final crops, and inspecting the structure. Save the cold-protection work, insulation, sealing vents, and heater prep, for closer to frost so you are not closing up the greenhouse before you need to.
Step-by-Step Winterizing
Work through these steps in order. Each one builds on the last, so finishing the cleanout before you insulate, and sealing before you heat, keeps you from trapping pests or wasting warmth.
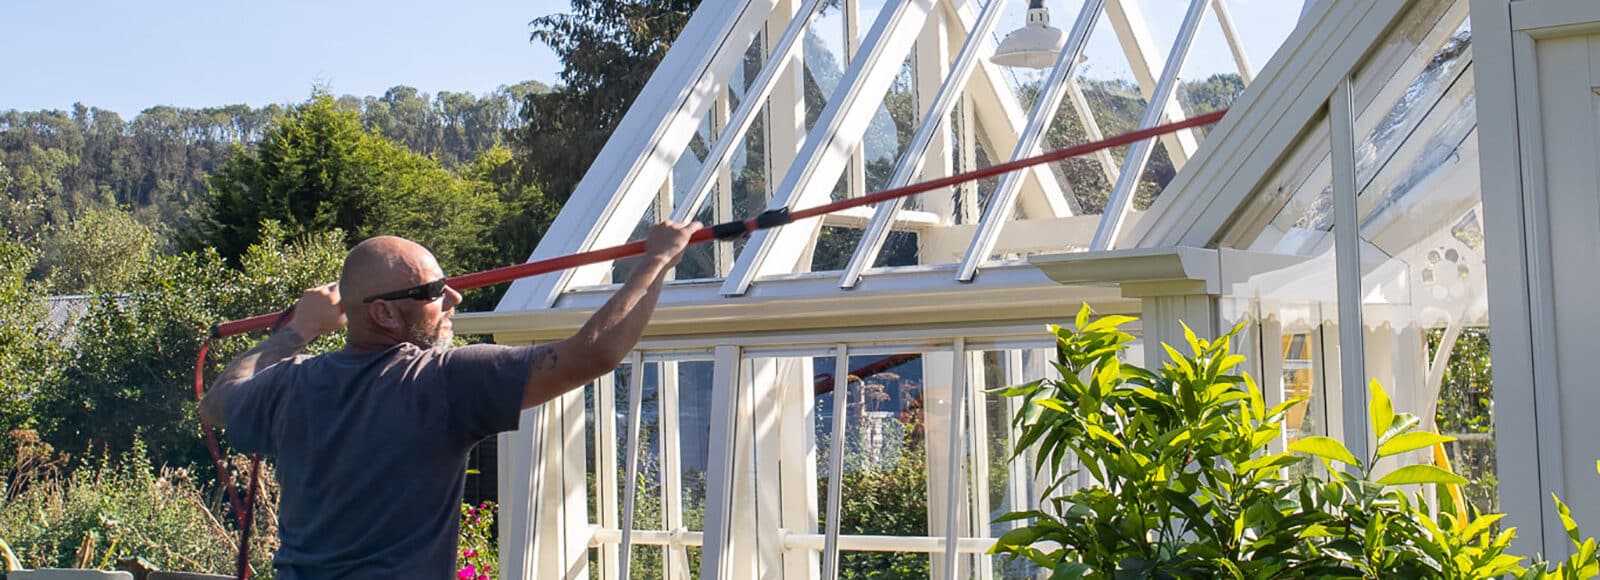
1. Clear Out and Deep Clean
Empty the greenhouse first, then scrub it. Pull dead annuals and spent vegetables, relocate tender perennials like fuchsias to a heated space, harvest remaining produce, and remove extra pots, trays, and hoses you will not need until spring. Compost healthy plant matter.
With the space clear, sweep floors and benches, then scrub walls, glazing, doors, vents, and framing with a mild greenhouse cleaner or diluted bleach solution and rinse well. Treat any algae or moss with an algaecide, clear floor drains so water runs freely, pull perimeter weeds, and disinfect any tools staying for winter. Thorough sanitation removes the places where pests and disease survive the cold, which gives your plants a healthier start when they return.
an image of a man cleaning the roof of a glass greenhouse
2. Check the Structure
Inspect every part that has to carry winter snow and wind. Check glazing for cracking, clouding, or degradation in glass panes or polycarbonate panels, and replace anything damaged. Look for gaps, cracks, or rot in framing joints and re-caulk seals where needed.
Test that doors, vents, and louvers open smoothly and close tightly, lubricating hardware as needed. Examine the foundation for sinking, cracks, or gaps that invite frost heaving, and tighten loose screws or reinforce any weak points in the frame. Catching these issues before the first storm prevents small problems from becoming structural failures under a snow load.
an image of a glass greenhouse with plants inside and wooden slat roofs
3. Insulate
Adding insulation regulates temperature and retains warmth. Drape bubble polythene over the interior framework to boost heat retention while still letting light through, line the foundation with foam board to keep the root zone warmer, and add row covers or thermal blankets over plants for flexible protection. A deep layer of straw or leaves on the floor helps block ground frost, and weather-stripping or caulk around glazing closes the air leaks. Leave some vents cracked for airflow except during extreme cold.
The right material depends on how much light you can trade for warmth. Here is how the common options compare.
an image of a man putting insulation in a greenhouse
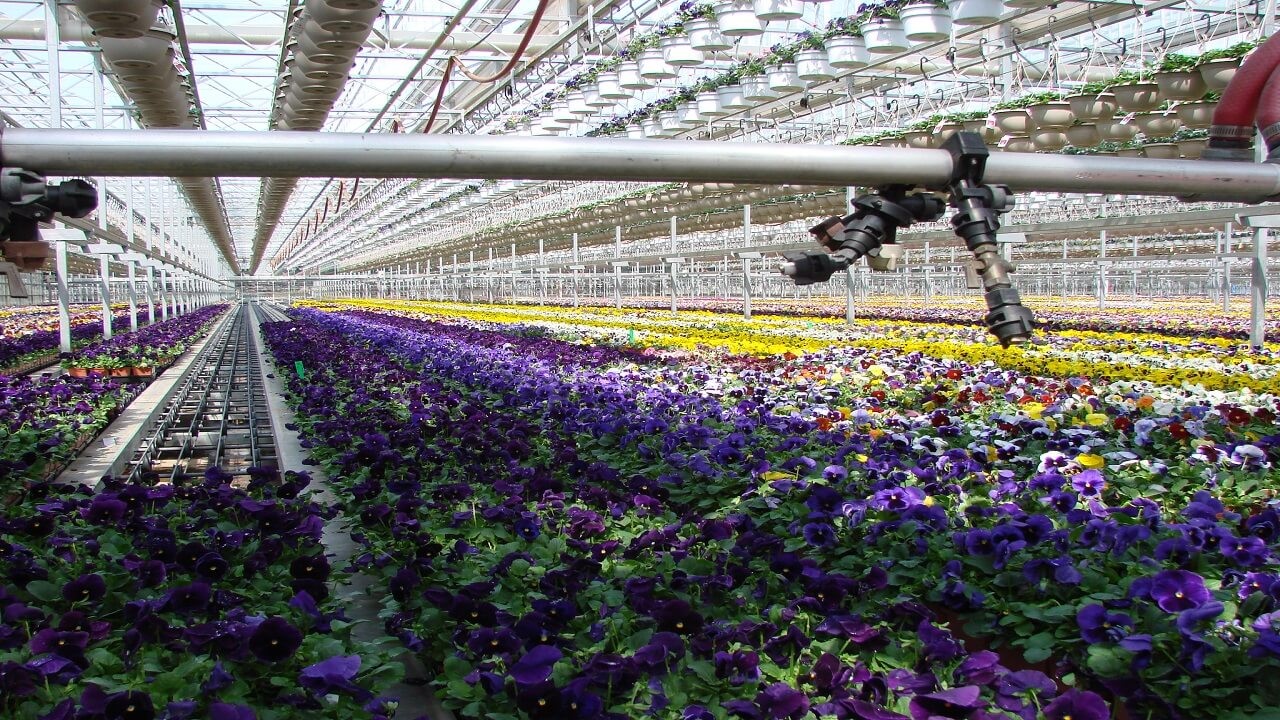
4. Protect Water Lines
Freezing water cracks pipes, so shut off and drain everything you can. Turn off the main supply, drain the lines using drain valves, and open taps to clear remaining water. Disconnect and store hoses so they do not crack, and follow the manufacturer’s instructions to drain irrigation pumps, filters, and emitters.
Wrap foam covers around outdoor spigots and hydrants, and insulate any pipe that has to stay in the greenhouse with heat tape or foam sleeves. A few minutes of draining now prevents the expensive repairs that follow a burst line.
an image of an extra large greenhouse with watering system filled with flowers
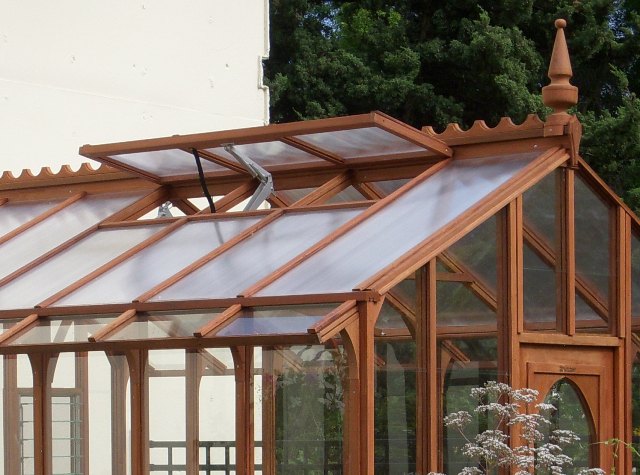
5. Keep Air Moving
Stagnant air breeds mold and mildew, so keep it circulating. Run wall- or ceiling-mounted circulation fans at low speed, space plants and benches so air flows around each one, and keep intake vents clear of debris. Add a small standalone fan to break up any dead corners.
Pair this with a hygrometer and increase ventilation if condensation builds up. University of New Hampshire Extension stresses that even small greenhouses need a ventilation system, because they overheat fast on sunny days and trap humidity that encourages disease. Good airflow protects your overwintering plants and keeps fungal problems from taking hold.
an image of a wooden greenhouse roof with open vents
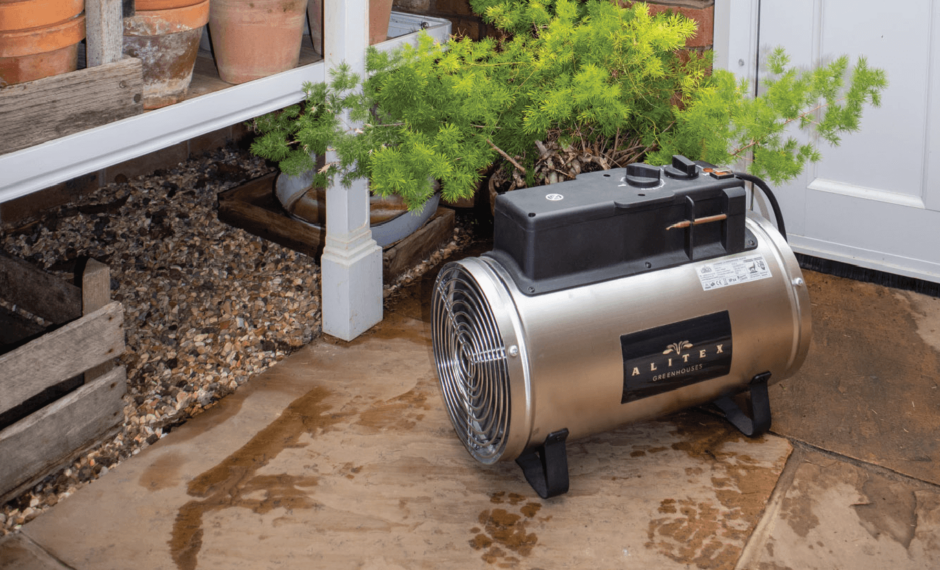
6. Prep Heat and Monitor Temperature
If your climate or your plants need supplemental heat, get the system ready and watch it closely. Inspect existing heaters for damage, service fuel-based units and check exhaust venting, and confirm the heater output suits your greenhouse size if you plan to hold a target temperature. Seal drafts near the heat source, follow clearance instructions from combustibles, and never run a fuel heater in a fully closed space without venting for safe gas exchange.
Then track conditions. Place max/min thermometers in several spots, especially cold corners and near vents, and check them daily. A thermostat lets a heated greenhouse hold its target automatically. Watch for cold spots, and add frost protection like horticultural fleece when readings drop too low. For a deeper look at sizing and running a heater, see our guide on how to heat a greenhouse.
an image of an electric heater inside a greenhouse
7. Add Winter Crops
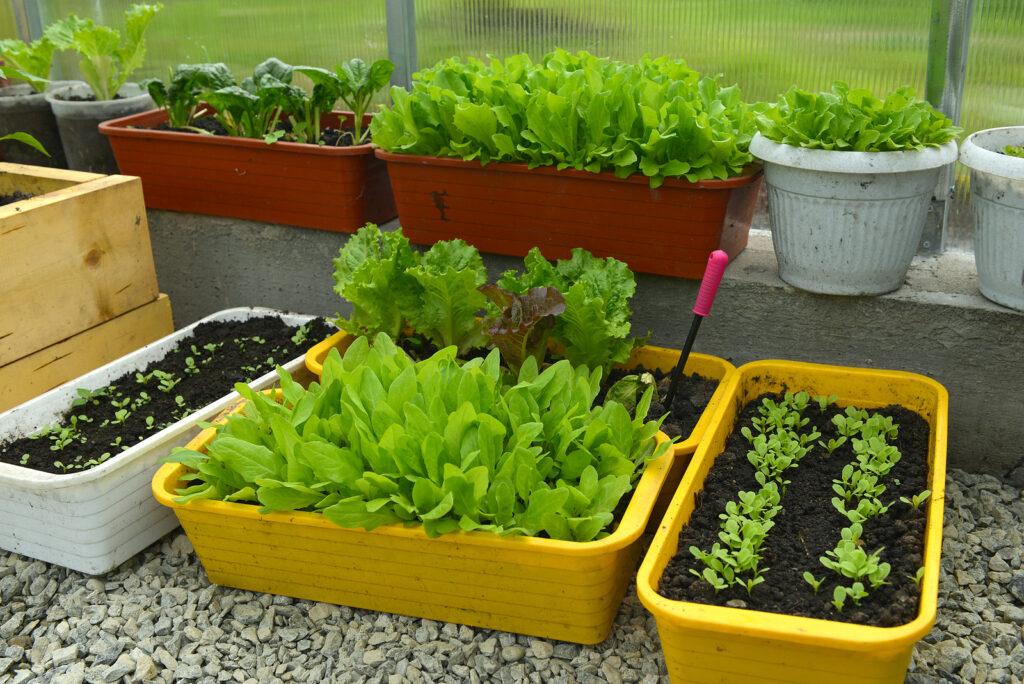
Once the greenhouse is prepped, bring in plants suited to the conditions you can hold. Choose cool-season crops like kale, chard, carrots, lettuce, parsley, and spinach for unheated or lightly heated space. Move frost-tender potted plants such as hibiscus and citrus inside, hardening them off to cooler conditions first, and relocate vulnerable perennials so they can go dormant under protection.
Check plants often for cold stress, watering needs, frost damage, and pests, and use heaters or thermal blankets to keep each one above its minimum temperature. For tropicals that want more moisture, a wet gravel tray raises humidity without soaking the air.
an image of lettuces in plant boxes inside a greenhouse
Overwintering Plants in an Unheated Greenhouse
Some plants overwinter successfully with no heat at all, as long as you pick hardy species and manage conditions. Cool-season greens like kale and chard tolerate temperatures down to roughly 15 to 20°F, while tropicals need to stay near 50°F. UNH Extension notes that cold-tolerant crops such as spinach, kale, and collards, planted in the ground in August or early September, can stay productive late into winter and sometimes all winter long.
To make an unheated greenhouse work, maximize insulation with bubble polythene, perimeter foam boards, and thermal blanketing. Orient glazing to catch as much winter sun as possible, drape row covers over plants on the coldest nights, and keep ventilation going to prevent the humidity that invites disease. Monitor temperatures closely and have a backup plan to move plants into a heated space if a deep freeze is coming. If you only need to nurse a few hardy crops through the cold, weighing a cold frame vs a greenhouse can tell you whether a smaller, simpler structure would do the same job for less.
Match each plant to a structure that can hold its minimum temperature. The table below shows where common plant groups stand.
Plant Type
Minimum Temperature
Ideal Temperature Range
Cool-weather crops
28°F (-2°C)
45-55°F (7-13°C)
Hardy perennials
32°F (0°C)
50-60°F (10-16°C)
Tropical plants
50°F (10°C)
60-75°F (16-24°C)
Citrus trees
50°F (10°C)
60-70°F (16-21°C)
Succulents
40°F (4°C)
50-60°F (10-16°C)
an image of a greenhouse during the winter season
FAQs
How long does it take to winterize a greenhouse?
Plan on a full weekend of focused work, but start the process 4 to 6 weeks before your first frost so you are not rushing. Early tasks like removing tender plants and inspecting the structure can begin up to 8 weeks out. Insulation, sealing, and heater prep are best done closer to frost.
Should I leave any vents open in winter?
Yes. Keep some vents cracked for circulation whenever temperatures allow, and close them only during extreme cold. Even a small greenhouse overheats fast on a sunny winter day and traps humidity that breeds mold and mildew. Pair vents with a hygrometer so you can adjust airflow as conditions change.
Do I need to drain my greenhouse irrigation before winter?
Yes, if any part of the system can freeze. Shut off the main supply, drain the lines, open taps to clear standing water, and disconnect and store hoses. Follow the manufacturer’s instructions to drain pumps and filters, and wrap any pipe that must stay in place with heat tape or foam sleeves.
What temperature is too cold for a greenhouse?
It depends on the plants. Cool-season crops tolerate temperatures near 28°F, hardy perennials hold around 32°F, and succulents want to stay above 40°F. Tropicals and citrus suffer below 50°F. Place a max/min thermometer inside and add heat or frost cloth before readings drop under your most sensitive plant’s minimum.
Can I winterize an old or budget greenhouse?
Yes. The same steps apply to any structure: clean it out, inspect and repair the glazing and frame, insulate with bubble polythene and foam board, protect water lines, and add heat if needed. Older frames may need extra attention at seals and joints, so re-caulk gaps and reinforce any weak points before snow arrives.
Will winterizing stop pests from coming back?
It helps a lot. Removing dead foliage and deep-cleaning every surface strips away the debris where insects and disease overwinter, so you start spring with far fewer problems. Combine sanitation with steady airflow and you also reduce the damp, stagnant conditions that fungal diseases and mildew need to spread.
Ready to grow straight through the cold season? A well-built, well-sealed structure makes every winterizing step easier and holds heat better night after night. Browse our greenhouse kits for sale to find a frame and glazing matched to your climate, or explore the full garden greenhouse collection to start planning next season’s harvest.


Comments
Leave a comment