Above Ground vs In Ground Fire Pits: A Complete Comparison
Deciding between an above ground vs in ground fire pit usually comes down to one honest question: are you staying in this house? An above-ground outdoor fire pit costs $100 to $1,500, arrives ready to assemble, and you can light it this weekend. An in-ground pit runs $300 to $5,000+, takes real excavation, and rewards you with a feature that lasts for decades. This guide walks through installation, durability, size, safety, maintenance, and cost so you land on the right one the first time.
TL;DR: Above-ground fire pits cost $100–$1,500, install in an afternoon, and move easily, but show wear in 3–5 years. In-ground masonry pits run $300–$5,000+ and stay put, but they handle bigger fires, contain embers better, and last for decades. Staying long-term? Build in-ground. Want it cheap and portable? Go above-ground.
Key Takeaways
In-ground fire pits are more complex and expensive to install, but they deliver better durability, ember containment, and fire capacity.
Above-ground fire pits are faster, cheaper, and movable, you can even take some camping, but they need more frequent upkeep.
An above-ground metal pit often shows wear within 3–5 years, while a properly built in-ground masonry pit lasts for decades.
For a permanent backyard you plan to enjoy for years, in-ground usually wins; for budget, speed, and flexibility, above-ground is the smarter buy.
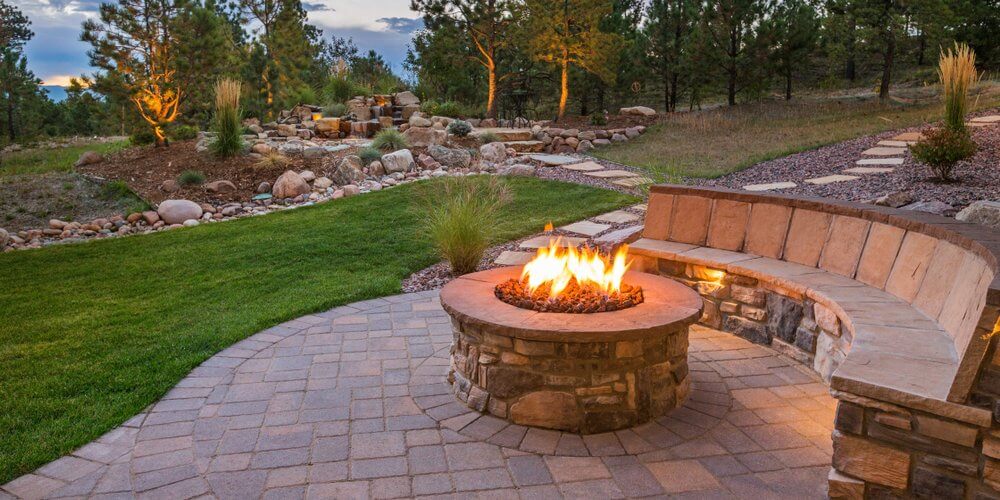
A stone fire pit with built-in bench seating on a paved patio in evening light
The Quick Verdict
For most homeowners staying put, an in-ground fire pit is the better long-term choice, it lasts longer, contains fire more safely, and looks built-in rather than bolted-on. The single variable that should decide it: permanence. If you own the home and love the spot, the masonry pit you build once will outlive three or four cheap metal bowls.
But the verdict flips if your situation calls for flexibility. Renting, planning to move within five years, still testing where the fire pit feels right in the yard, or working with a tight budget? An above-ground pit wins, it’s a fraction of the cost, installs in an afternoon, and moves with you. Neither is universally “best.” Match the pit to how long it needs to last and how often you’ll want to move it.
Above Ground vs In Ground Fire Pit: Side-by-Side
Factor
Above-Ground Fire Pit
In-Ground Fire Pit
Install effort
Assemble in an afternoon
Excavation, lining, backfill
Install cost
$100–$1,500
$300–$5,000+ ($2,500–$5,000 pro-built)
Materials
Metal, steel, aluminum, some stone
Brick, concrete block, natural stone
Lifespan
3–5 years (metal)
Decades
Max fire size
1–2 ft bowls
3+ ft across, bonfire-capable
Portability
Fully movable
Permanent once set
Ember containment
Exposed sides, more escape
Masonry walls block spread
Maintenance
Frequent (rust, covering)
Low (occasional repointing)
Best for
Renters, tight budgets, flexibility
Long-term homes, big gatherings
Installation: How Much Work Is It Really?
An above-ground pit is the easy DIY install. Most arrive as ready-made products you assemble with basic tools, and metal or gas models often need nothing more than unboxing and leveling. Stone or masonry above-ground designs ask for more building, but you’re still working at ground level with no digging.
An in-ground pit is a different commitment. You’re excavating a hole up to 3–4 feet deep, checking for buried utilities before the first shovelful, lining the cavity with non-combustible block or stone, laying brick walls, dropping in a metal burn bowl (plus gas lines if applicable), and backfilling with gravel. Because of that, most homeowners hire a landscaping crew, and the cost to install a fire pit this way typically lands between $2,500 and $5,000 depending on materials. The payoff is a permanent feature, not a weekend project you redo in a few years.
Durability: What Lasts Longer
Materials decide longevity, and this is where in-ground pulls ahead. Above-ground pits are usually metal or powder-coated steel for easy movement, with aluminum, stone, and concrete options too. They hold up reasonably well, but thin metal and aluminum start showing rust and wear after 3–5 years of weather and heat cycling.
Material
Durability
Maintenance
Heat Resistance
Metal
Low
High, rust protection needed
Moderate
Aluminum
Low
High, dents and wear
Moderate
Stone
High
Low
Excellent
Concrete
High
Low
Excellent
Brick
High
Low
Excellent
In-ground pits open the door to masonry like natural stone, concrete block, and brick, which shrug off high heat. Built correctly, an in-ground pit can last for decades with little more than the occasional mortar touch-up. If you’re choosing between paying once for stone or replacing a metal bowl every few seasons, the math favors building once.
Size, Placement, and Safety
In-ground pits hold bigger, safer fires. Their depth and heavy enclosing walls let them run fires over 3 feet across, proper bonfire territory for a crowd, while the surrounding masonry blocks spreading embers and keeps flames lower and farther from people. Above-ground bowls typically span just 1–2 feet, which suits a couple or a small family but won’t deliver a roaring campfire.
Whichever you choose, the clearance rules are the same. Fire-safety officials recommend keeping any fire pit at least 10 feet from structures, property lines, trees, and overhanging branches (U.S. Fire Administration), set on a non-combustible base, and never used under low limbs. Because in-ground pits enable larger, hotter fires, those buffers matter even more. Above-ground’s big advantage is mobility: set it on a non-flammable deck, patio, or gravel pad and move it whenever the layout changes. Just confirm what goes under it, since a non-combustible base layer protects both the surface and the pit.
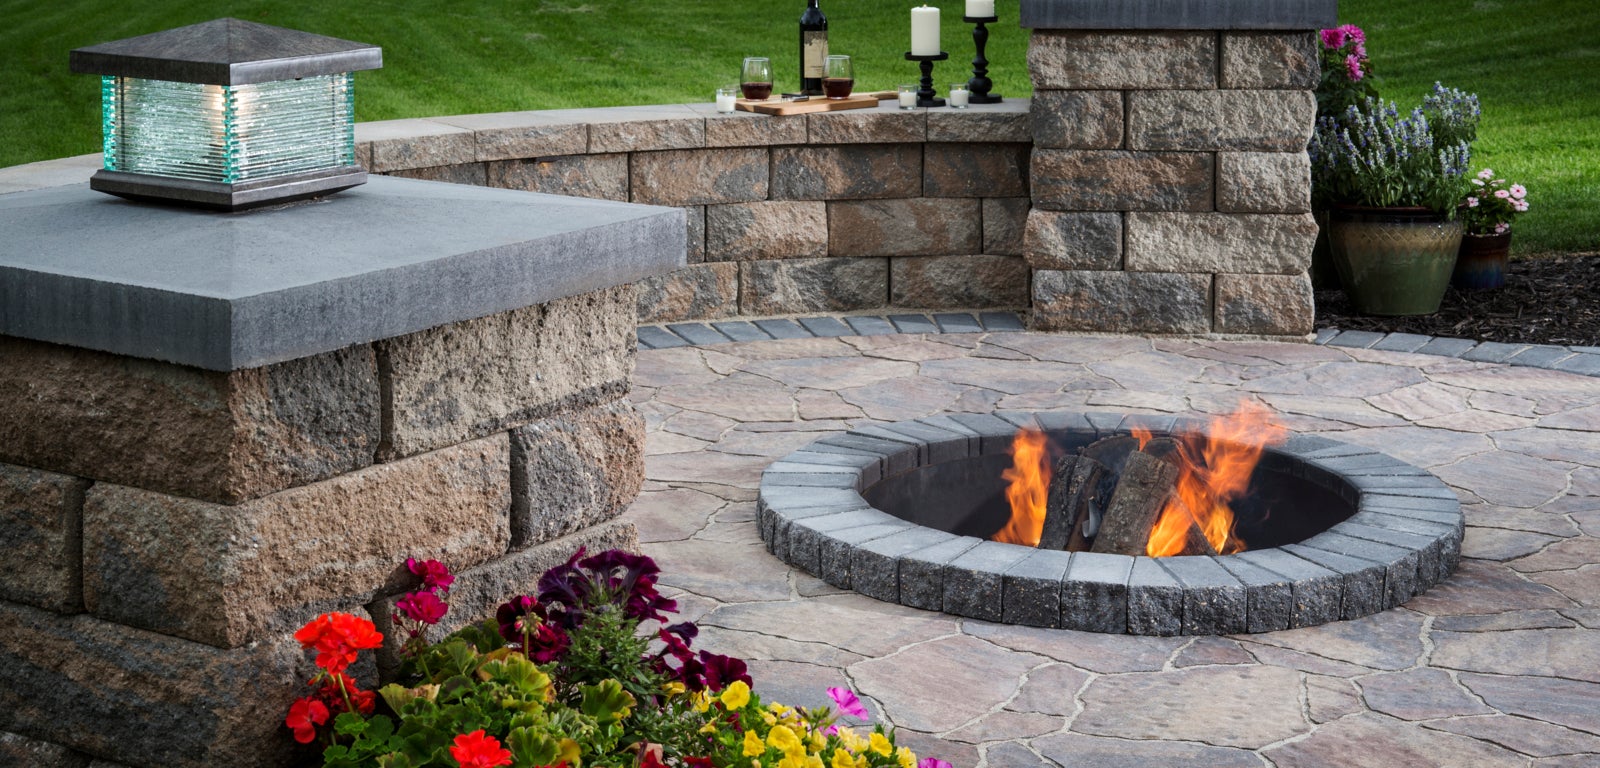
A circular stone fire pit with a burning fire surrounded by patterned paving and grass
Maintenance and Cost Over Time
Above-ground pits need more attention. Being exposed and often metal, they show dirt, corrosion, and damage faster, so plan on touching up fade-prone surfaces, checking stability after moves, clearing old ash before each burn, and covering the pit against rain and snow. In-ground masonry mostly just needs debris cleared and a crack check, with mortar repointing every 5 or more years.
On upfront cost, the gap is real (as of 2026): $300–$5,000+ for a permanently installed in-ground pit versus $100–$1,500 for an above-ground model bought online and installed yourself. Larger custom above-ground builds can close that gap, and gas pits add ongoing propane cost while wood pits mean sourcing firewood. Weigh the lifetime cost, not just the sticker: a $200 bowl replaced three times isn’t cheaper than building once.
Which Fire Pit Should You Choose?
Choose an in-ground fire pit if you own your home, plan to stay 5+ years, want to host big groups, and prefer a built-in look that lasts decades.
Choose an above-ground fire pit if you’re renting or moving soon, want it installed today, have a tighter budget, or value the freedom to rearrange (or pack) it.
Still weighing styles, fuels, and materials before you commit? Our fire pit buying guide breaks down every option so your final pick fits the yard and the budget.
FAQs
What do you put at the bottom of an in-ground fire pit?
Start with a non-combustible base, gravel or sand for drainage, topped with fire brick, lava rock, or fire glass over the burner. The base improves airflow and protects the soil and any gas lines beneath. Avoid wet river rock or regular gravel that traps moisture, since trapped water can cause stones to crack or pop when heated.
Does an in-ground fire pit need drainage?
Yes. Because it sits below grade, an in-ground pit can collect rainwater, so a gravel or sand base (and sometimes a small drainage pipe) keeps water from pooling around the burner or freezing in the masonry. Good drainage is one of the main reasons in-ground pits last so long when built correctly.
Can a fire pit just be a hole in the ground?
You can dig a basic hole-style pit for occasional wood fires, but it’s the least durable and least safe option. Without a non-combustible lining and proper clearance, the sides erode, water collects, and embers escape more easily. Lining the hole with fire brick or a metal ring makes a dramatic difference in safety and lifespan.
Can both types be used for cooking?
Yes. Above-ground pits often include or accept a grill grate over the flame, and in-ground pits can take a cast-iron grate for cooking too. Make sure the fire is well-contained and the grate is stable before placing any food over the flames.
Light It Right
The best fire pit is the one that matches your stay and your style. If this is your forever yard, the in-ground build pays you back for decades in durability and safe, generous fires. If you want flexibility and a fire going tonight, an above-ground pit gets you there for a fraction of the cost. Decide how long it needs to last, then build or buy accordingly, and enjoy the evenings around it.
An outdoor stone patio with a fire pit, decorative plants, and a bottle of wine with glasses


Leave a comment